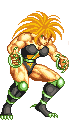
Rila is a free-spirited Brazilian from the Amazon who enters the Tournament to fight an evil spirit endangering her people. Her alter-ego, Virgo Sandra, was raised by a giant snake after being orphaned.
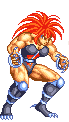
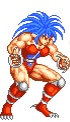
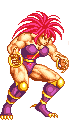
Colors
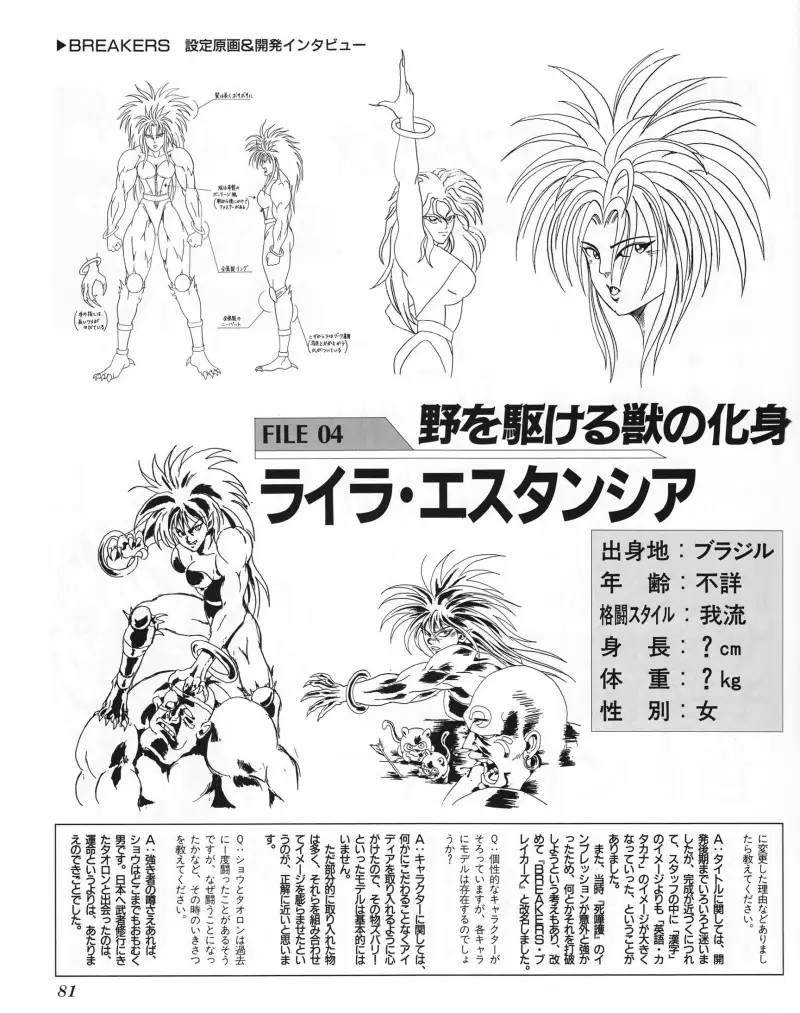
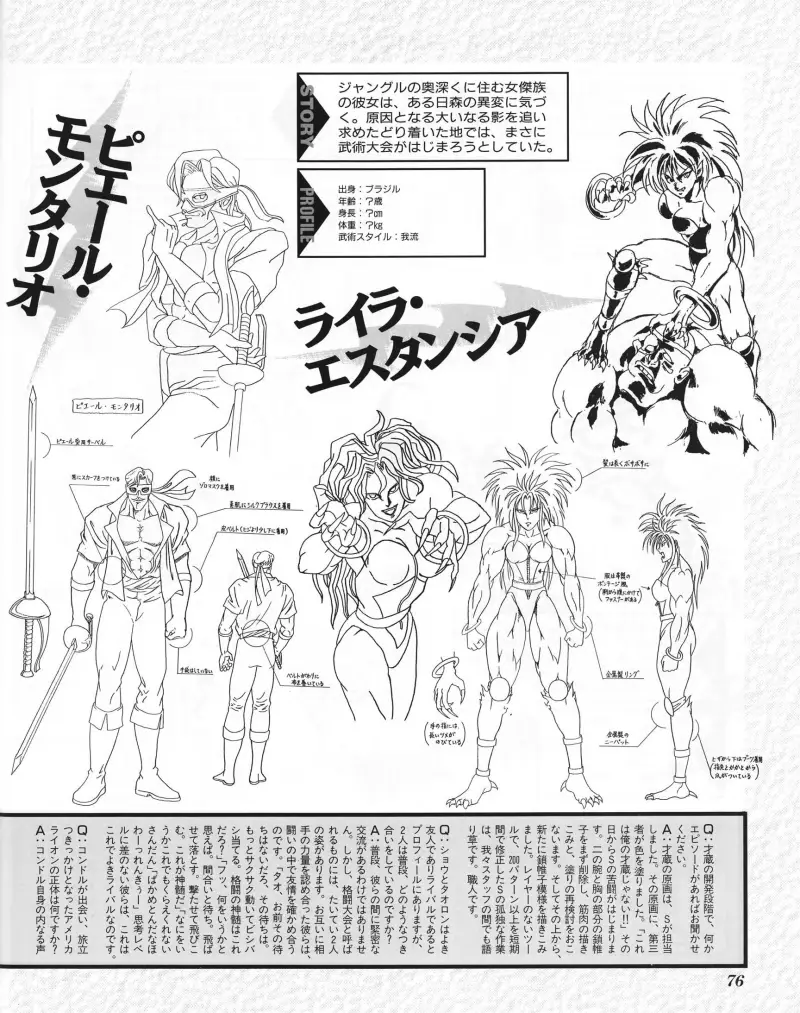
Gallery
Normals
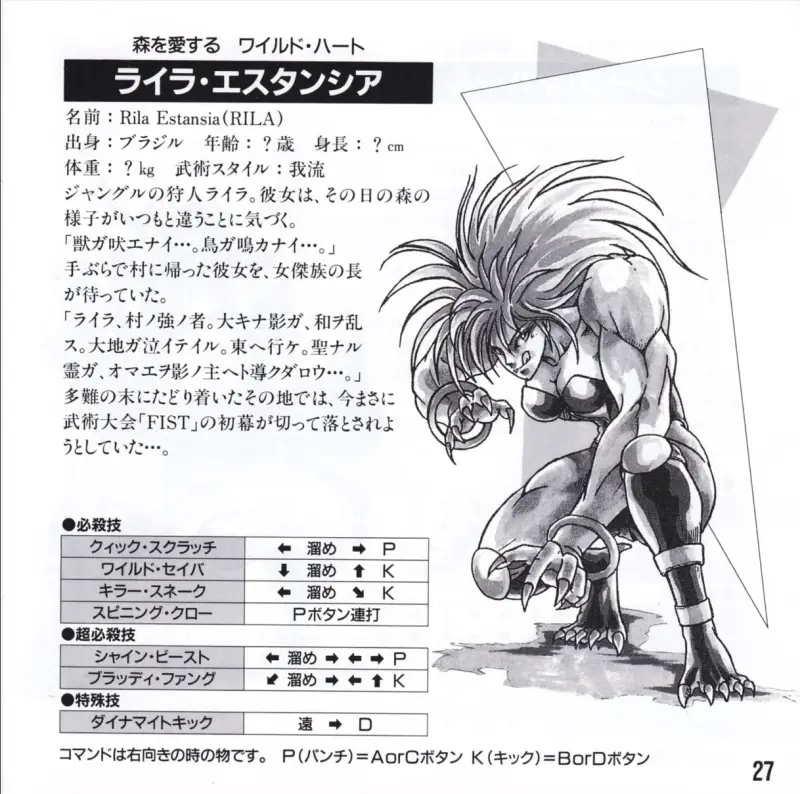
Commands
Specials
Supers
Rila is a powerful charge character with high damage output. She has no zoning tool except for her down heavy punch, but her fast anti-air and anti-projectile super help her control space and shut down opponents from anywhere on the screen.
Offense
- 2C: Difficult for opponents to contest. Safe on block. Works well as an anti-air.
- Neutral Jump C: Has priority over most normals and also anti-air specials outside their invincibility frames.
- Quick Scratch ([4]6A): Fast approach tool. Safe on block except against Tia and Saizo.
Defense
- Wild Saver ([2]8K): Long reach anti-air. Can miss up close, especially against cross-ups.
- Quick Scratch ([4]6C): Heavy Quick Scratch hits airborne and connects into Super (Bloody Fang). It deals more damage than the light version but is unsafe on block.
- Killer Snake ([1]3D): Pass through projectiles. Has a super follow-up (Bloody Fang) ; On block, cancel into Super to bait and catch punishes.
- Standing Normals: Use 5C for close anti-air and 5D against crossups; 5A can convert into [4]6C and Bloody Fang Super.
Supers
- Bloody Fang ([1]319K): Punishes projectiles and extends combos from heavy Killer Snake or anti-air heavy Quick Scratch.
- Shine Beast ([4]646P): Has invincible startup; hold and release at any moment. If you hold it too long, Rila goes back to neutral.
Tips
Chip damage
Spinning Claw deals the most chip damage but is very slow. Use Killer Snake D or Quick Scratch C instead.
Super shortcut
There are several shortcuts to perform the Bloody Fang super: you can use [1]37K or [1]32147K
Replays
- Joe Gillian (Rila) vs Nikolaeye (Dao Long)
- Ink-Dood (Condor/Sho) vs SouthpawRock (Rila)
- TomBruise (Tia) vs SouthpawRock (Rila)
- Michel Vegeta (Rila) vs Balier (Sho)
- Ekito (Rila) vs Jonster (Sho)
Ressources
Meterless combos
- 2B > 5A > [4].6C
- 2B > 2A > [4].6C
- 2A > 5A > [4].6C
- 2A x 2 > [4].6C
- jD > 5C > Spinning Claw
- jD > 5B > 5A > [4].6C
- jD > 5B > 2B > [4].6C
- crossup j.B > 5B > 5A > [4].6C
- close 5D > 2C
- corner: 6D > 5A > [4].6C
Metered combos
- [4].3D > Super Bloody Fang
- crossup j.B > 2B > 5A > Super Bloody Fang
- Anti-air 5A > [4].6C > Super Bloody Fang
- (corner) 6D > 5A > [4].6C > Super Bloody Fang
Anti-air
- 5A > [4].6C > Super Bloody Fang
- 5C > Super Bloody Fang


Ranki Ryuu Geri
Ranki Ryuu Geri (236K) is unsafe on its own, but Sho can follow with super to stay safe and bait punishes. You can react to the Super flash with Wild Saver.
Rekkou Ha
At close range, whiff punish with Heavy Killer Snake; at any range, use Bloody Fang Super.
Seiken Shou Ha
Punish with Super Bloody Fang. Up close, Punish with any normal or Heavy Quick Scratch.
Onigawara
Punish with 5A (tight timing). Safe if canceled into his projectile.
Break: Wild Saver (if your opponent use A+C > 236K).
Tobihizageri
Safe on block, but leaves him throwable up close. From afar, the startup gap can be punished with Wild Saver.
Sashikomi Kick
You can whiff punish his divekick with 5A or Wild Saver. On hit, break using throw. Be cautious, a whiffed divekick can lead to his air fireball super. Block low to avoid his fuzzy setup.
Saber Bash
Punish with 5A > quick scratch C.
Flying Peach Bomber
Punish with 5A > quick scratch C.
You can also whiff punish with Wild Saver.
Bonjour Shot
Punish on close range with heavy Killer Snake or at any range with Super (Bloody Fang). Unsafe on hit or block if done too close.
Monsieur Crash
Be careful, as he can delay each part of it to counter your punish attempt. All hits are unsafe on block.
Merci Un Deux Trois
When you block all three hits, Pielle passes behind you. Punish with 5D.
Super Rose
Whiff punish at super flash with Wild Saver D.
Thunder Croiser
Punish with quick scratch C. If close enough, use Killer Snake D.
Tomahawk Jack
Punish a missed or blocked Tomahawk with Quick Scratch C or Bloody Fang Super.
Gran Buffalo Horn
Whiff punish with 2D and on block with 2A > Wild Saver D.
Sky Bridge
Punish with Bloody Fang Super or 5C. If blocked from a distance, use Quick Scratch C.
Heel Stomp
It can counter your normals if you're late.
Use Wild Saver B to beat it.
Atlas Rock Buster
Punish with Quick Scratch C. After blocking the first hit, use 2B, throw, or Super Shine Beast for better damage or positioning.
2C
It's hard to deal with. Safe on block. Whiff punish with 2C or Quick Scratch C.
2D
Punish at close range with 2A > Quick Scratch C.
Killer Snake
The light version is unsafe even if it hits. The heavy version can cancel into a Super. If blocked, punish with 2A and be ready to use Wild Saver B if she triggers the Super.
Quick scratch
Light version is safe on block but can be whiff punished with any normal. Heavy version is unsafe.
Spinning Claw
It stays active for a long time and can counter ground normals and specials. Whiff punish with Super Bloody Fang or Killer Snake.
Shine Beast
If blocked at mid or close range, she crosses over. Block the first hit, then quickly switch your charge direction to punish with Quick Scratch C or Super.
Bloody Fang
Punish with 5A > quick scratch C > Bloody Fang Super. On hit, mash buttons and directions to reduce damage.
Soul Spike
If blocked close or in the corner, punish the light version with 2B. Against Heavy Soul Spike with meter, use a throw to beat the Super follow-up.
Mirage Spear Kick
Used for chip damage and meter build. Safe on block.
Rising Upper
Punish close range with 5A > quick scratch C > Bloody Fang.
Rapid Gale
This projectile can be punished depending on the range with Killer Snake D or Super Bloody Fang. You can also counter unsafe fireball pressure with Killer Snake D.
Heel Break
Two-hit sequence, last hit is an overhead. After the first hit, punish or break with throw or Wild Saver B.
Rapid Charge
She switches sides mid-air on block. Quickly adjust your guard to maintain your charge and punish.
Burning Revolver
Punish with quick scratch C > Bloody Fang Super.
Cutlass Flasher
This Super hits high and switches sides. Unsafe on block.
Horus Shade
Overhead with slow startup, making it easy to react. Whiff punish with wild saver or 5C on close range.
Death Shred
If you block it crouching, interrupt before the second hit (overhead).
Deadly Claw
The light version lands in front, while the heavy lands behind at close range. Punish with 5A or quick scratch C; if it lands behind, use 2C.
Dash Knee
Only safe at max range. Punish with 5A or Quick scratch C.
Cadabra bomber
Safe on block but punishable after the first sequence with Wild Saver B or Shine Beast.
Abdomen Step
Punish with 2A (tight timing) or whiff punish with Wild Saver B.
Slash & Punish Sword
Punish with quick scratch C.
Balloon Bomb
Hits high and can cross up; punish with 2C or quick scratch C > Super.
Shiva Dance
Punish with quick scratch C or Super Bloody Fang.
Kouryuu Ga
On whiff, punish with Killer Snake D or Bloody Fang. In the corner, punish with quick scratch C.
Senkyuu Tai
If blocked at close range use 5A > quick scratch C > Super. You can also use neutral jump C > 5C > quick scratch C.
Shoutenchuu
Safe on block. Whiff punish with 5A > quick scratch C > Super.
Shin Kyoku Ranbu
Hits Mid, Punish with Killer Snake D > Bloody Fang Super or Quick Scratch C > Super.
Stand C
Far version is unsafe even on hit, punish with Quick Scratch C. The close version hits low and is safe.
Ryuuei Kyaku
A slide that must be canceled with bomb and at a high range to be safe. Otherwise, punish with 5A
Yashagami
It’s unsafe on hit and block unless canceled. However, it can be followed by a super that interrupts your punish. In this case, punish with Wild Saver B.
Engetsuzan
Punish with quick scratch C or Super Bloody Fang.