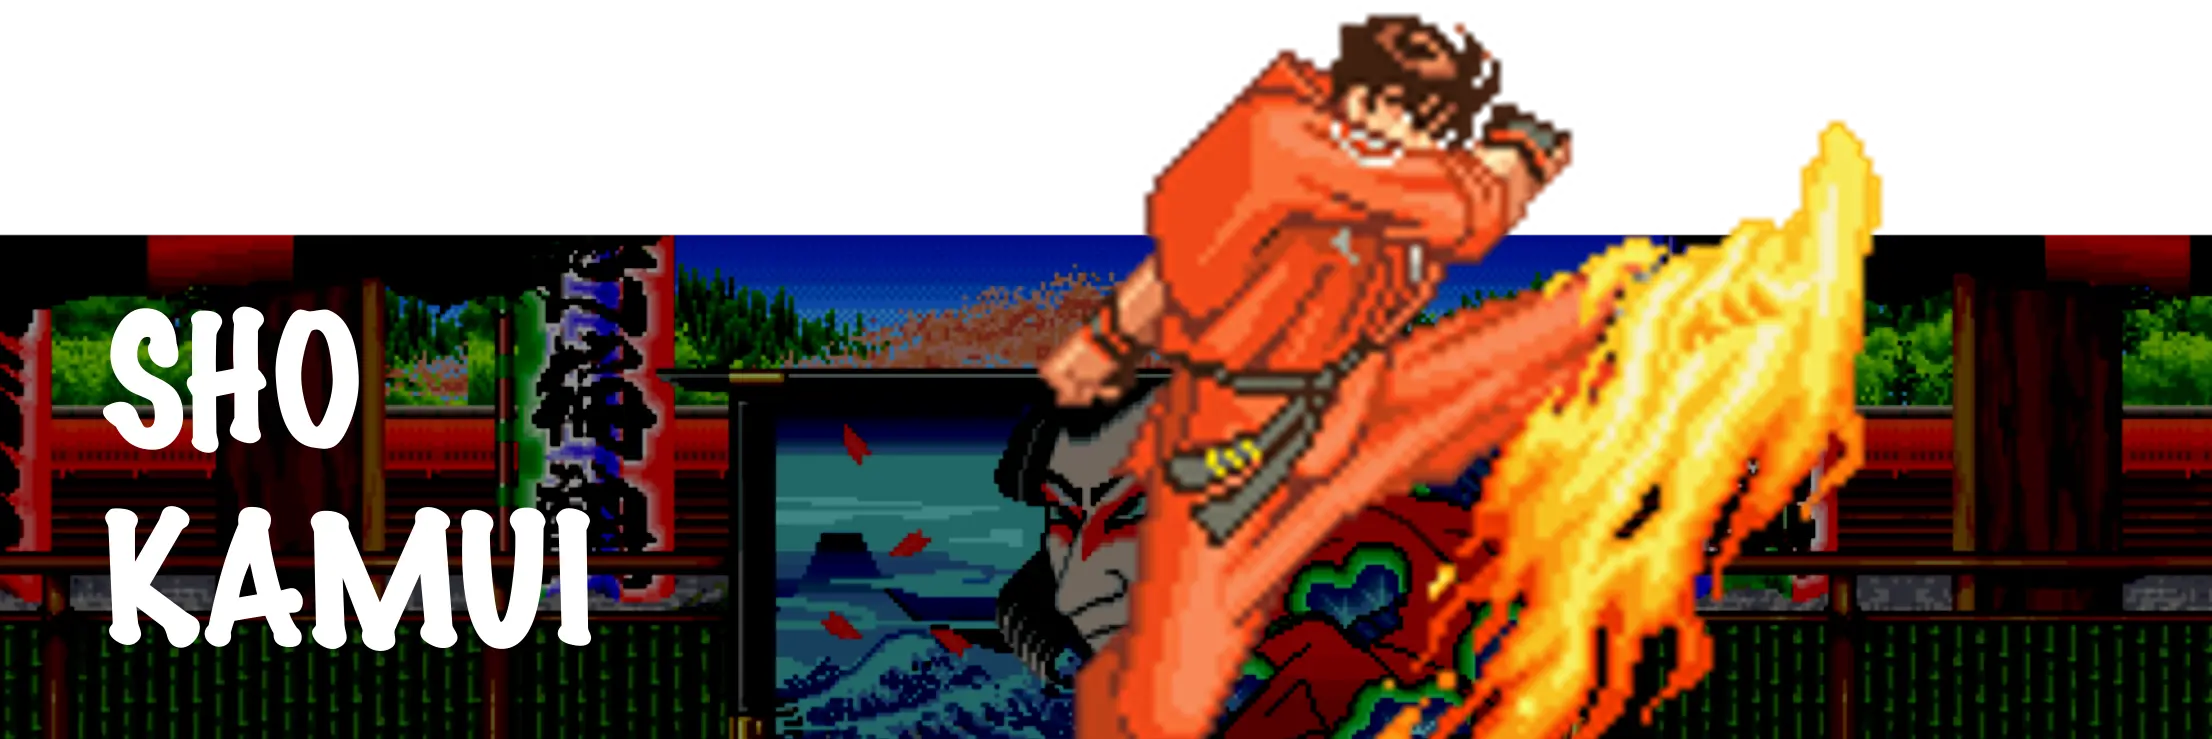
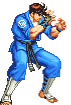
Sho Kamui, the Karate master and protagonist of Breakers Revenge, enters the FIST Tournament to prove the strength of his martial arts and face his old rival, Lee Dao-Long, the one who gave him the scar on his cheek.
Colors
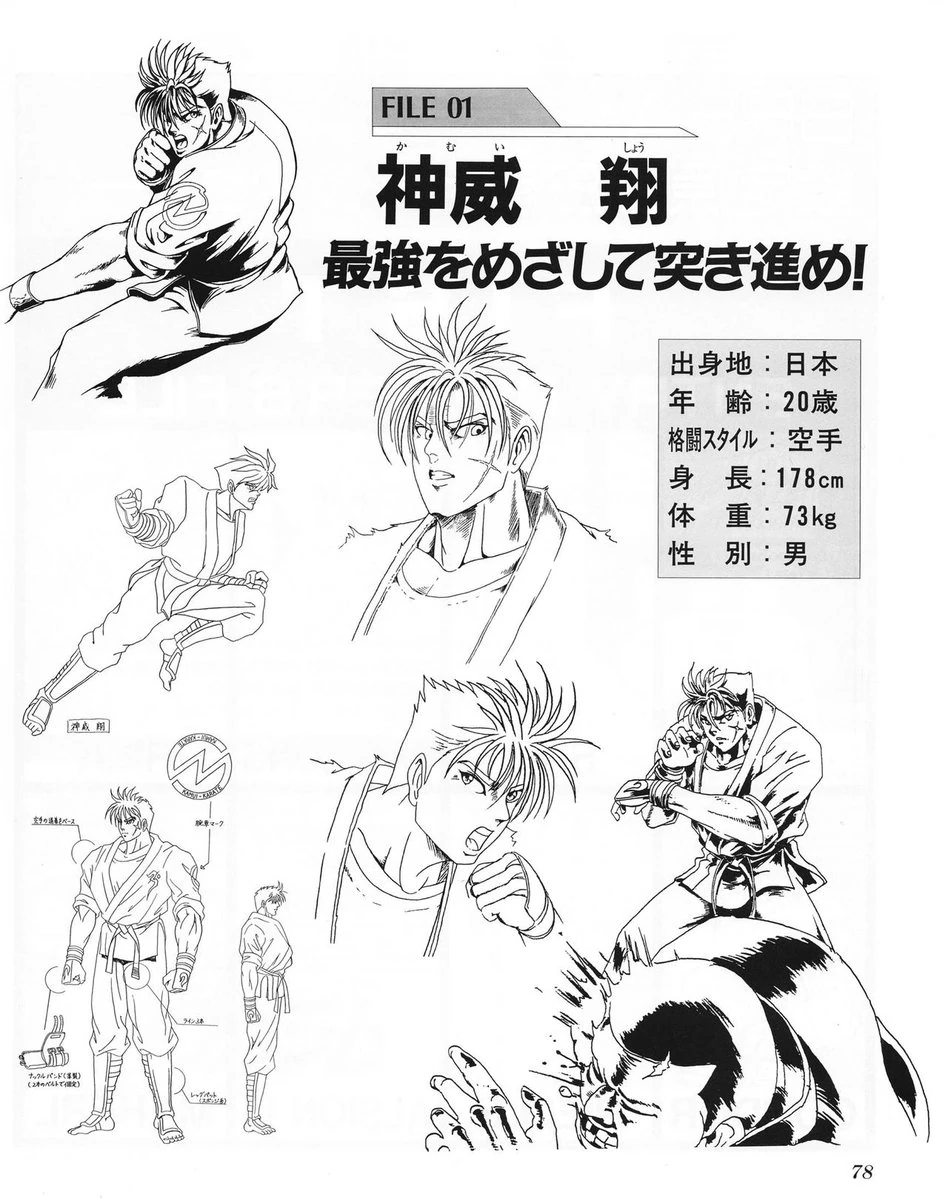
Gallery

Normals
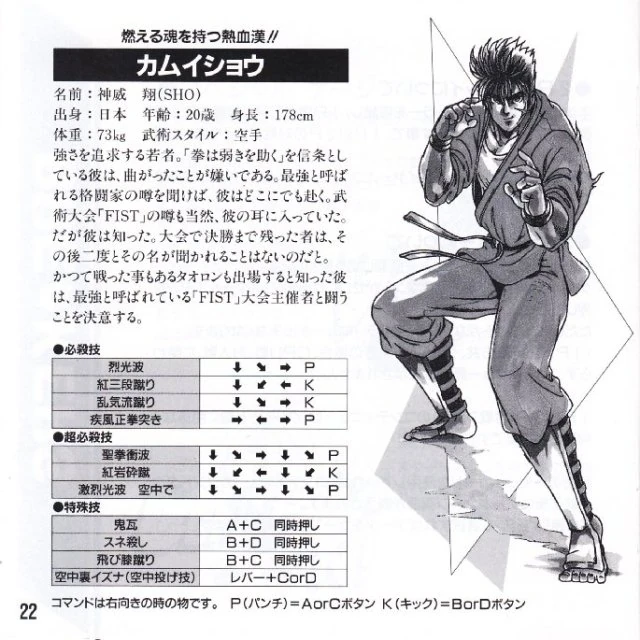
Commands
Specials
Supers
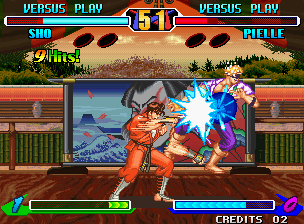
Sho is a top-tier character, with quick movement, high damage output and excellent air control. He can use his divekick from any jump angle to apply constant pressure. Most of his moves are safe and cancelable, making him a relentless threat in any situation.
Neutral
- 236P: Projectile. Follow with a dash, then cancel at any time to bait jumps or apply pressure.
- Offense: Find openings using dash into 2B/5C. On close range use lows (normals/B+D) or overhead (A+C).
- Tobihizageri (B+C): Safe on block. Leaves you in throw range if used too close. From far away, it has a punishable gap.
Jumps
- Jump B: His most reliable air-to-air: Stays active, high priority, Super-cancelable.
- Divekick: Safe on block. Can bait anti-airs with Super (air 236236P). If blocked (high) you can setup a fuzzy mixup : 2B (low) or jump D > Super.
- Super cancels: Except neutral jD, all jump attacks are cancelable; you can whiff-cancel jA, jB, and divekick to bait anti-airs.
Anti-air
- 2C & 5C: Cancellable into specials or supers.
- 214K: Has startup invincibility; 214B is faster for juggles, while 214D reaches higher.
- Jump B: Stays active, high priority, Super-cancelable. Also ideal for catching bad jump-ins on your wake-up.
Break
You can break using a throw, a backdash, or 214K. It’s effective against close-range attacks and jump-ins.
Supers
- Seiken Shou Ha (236236P): Punish unsafe moves or end combos.
- Geki Rekkou Ha (j.236236P): Safe on block; ideal for baiting anti-airs.
- Kurenai Gansai Shuu (214214K): Has invincibility on startup and long reach. Often used as a reversal or to punish projectiles.
Tips
Avoid overusing breakable combos
Using Far 5C in combos often gives your opponent a chance to break. Instead, use 2C or 2D :
- 2B, 2B, 2C > 214K,K,K or 464P
- 2B, 2B, 2C > B+C > 236236P
- 2B, 2B, 2D > 236236P
Chip damage
To finish off a low-health opponent, use either 464P or 236D. 464P will deal the most chip damage.
Fuzzy
Jump-in or divekick to force high block, then mix with low (2B) or fuzzy (jD > 236236P). Fuzzy fails if divekick is blocked low.
Corner reset
Use 2C > B+C or close 5C.C > B+C then :
- Walk (condor)
- Dash (sho, rila, tia, saizo, bai-hu)
- Dash 2A/2B (all characters)
Throw Option Select
At close range, use this OS to throw or auto-trigger 214K (anti-air) if the throw fails.
- Forward throw: 214[6]C~B or 214[6]C~D
- Back throw: 21[4]C~B or 21[4]C~D
Ressources
Replays
Meterless combos
- 2B, 2B, 2B, 2D
- 2B, 2B, 2C > 236D or 214D.D.D
- 2B, 2B, 3C > 46P
- A+C > 646P
- 8D > 214D.D.D or 646P
- close 5C.C > 646P or 214D
- close 5C > B+D > 646P
Metered combos
- 2B, 2B, 2B, 2D > 236236P or 214214K
- 2B, 2B, 2C > B+C > 236236P or 214214K
- Divekick > 236236P
- 2B, 2B, 3C > 46P > 236236P or 214214K
- jD, 5C > B+D > 646P > 236236P or 214214K
Anti-air
- 2C > 236236P
- 2C > 214B > 236236P
- 214B > 5C > 236236P or 214214K
- 214B > jD > 236236P
- 5A or 5B > jA,A,A > 236236P
Air-to-air
- Divekick > 236236P
- jB > 236236P
- jA,A,A > 236236P
- Divekick > 2C > 214D.D.D
- Divekick > jA,A,A > 236236P
Kurenai juggles
- 2C > 214B > B (delay) > 5C > 236236P or 214214K
- 5C.C > 214B > B (delay) > 5C > 236236P or 214214K
Breakable combos
- far 5C ❌ B+C or 236236P
- A+C ❌ 236D
- jD ❌ 2B, 2B, 2C > 236D
- Divekick ❌ 2B, 2B, 2C > 214D.D.D


5C
Close 5C hits low and is safe, while the far version has significant recovery, making it
punishable
even on hit.
Rasen Kyaku
Overhead, unsafe on hit and block. Saizo rarely uses this move except to finish off his opponent.
Ryuuei Kyaku
It must be canceled into a bomb and properly spaced to stay safe.
Unsafe in corner, you can punish slide > bomb with 5C or 2A.
Yashagami
Unsafe on block or hit unless canceled into a super.
On block, players often delay a super to bait you, but you can still respond with 214214K.
Engetsuzan
Punish with dash > 5C
Saber Bash
Doesn’t hit overhead, unsafe at close range. Leaves a gap in blockstrings, use 214K to whiff punish
Flying Peach Bomber
Safe on block. Hits high (overhead) but leaves a gap in blockstrings, allowing a whiff punish with 214K.
Bonjour Shot
Unsafe on block and hit due to its slow recovery.
Monsieur Crash
All hits are unsafe, but Pielle can delay them as a frametrap to bait your punish attempt.
Merci Un Deux Trois
On block, Pielle crosses behind, leaving him open to a juggle punish.
Super Rose
Safe on block and with a wide range, it can be used from full screen. Whiff punish at the super flash with 2D.
Thunder Croiser
Anti-air super that works as a reversal. Punish with dash > 2B.
Killer Snake
Unsafe. The heavy version can be followed by any super to bait punishes. Use 2A, which hits if she does nothing and if she goes for a super you'll have time to block. 214D can also punish or evade her supers.
Spinning Claw
Hard to punish due to pushback. Stays active for a while and can win against certains normals, specials and supers.
Quick Scratch A
Can catch you off guard at mid or close range. Safe on block, whiff punish with any normal.
Quick Scratch C
Comes out quickly and works as an anti-air, also hitting backdashes and back jumps. Can be followed up with a super but is unsafe on block.
Shine Beast
On block, she switches sides. With practice, you can punish with a jump attack.
Bloody Fang
Doesn't hit overhead, despite the jump animation. Punish with dash > 5C. If you get hit, mash buttons and directions to reduce the damage.
Kouryuu Ga
Punish in corner (close range) with 2B or 236236P. Whiff punish with 214214K or 236D (requires spacing).
Senpuure Kyaku
Slow anti-air command. If you’re close, punish with 2B.
Shoutenchuu
A safe short jump (hits high). Whiff punish with 214K.
Houshin Renpa
Used at mid-range to punish your projectiles. Gives pushback on block—only punishable with 2B in the corner.
Shin Kyoku Ranbu
Despite the jump animation, it’s not an overhead. Punish on block with dash > 5C.
Tomahawk Jack
Unsafe on block. Punish with 5C or Super 214214K.
Gran Buffalo Horn
Passes through projectiles and closes distance. Safe at max range. Otherwise, punish or whiff-punish with 2D.
Atlas Rock Buster
Has brief startup invincibility. The last hit’s pushback makes it hard to punish, but after the first hit, there’s a gap : follow up with throw or backdash > dash > 5C.
Rekkou Ha
Whiff punish: 214214K or 236K (needs proper spacing).
Break: 214K (if your opponent use far 5C > 236P).
Ranki Ryuu Geri
Unsafe on its own, but Sho can follow with air super to stay safe and bait punishes. If you have meter, use jD > 236236P for a guaranteed punish.
Onigawara
Overhead, cancelable and safe on block.
Break: 214K (if your opponent use A+C > 236K).
Tobihizageri
Safe on block, but he ends close enough to be thrown. From long range, there's a punishable gap before the move connects.
Sashikomi Kick
Safe on block, can bait anti-airs and enable fuzzy mixups. Block low to avoid the fuzzy. On hit, break with 214K or throw, but beware: divekick combos into 214K, which beats throws.
Cadabra Bomber
Safe on block and has invincible startup. If close, backdash to avoid the last part, then punish.
Abdomen Step
Safe when canceled from normals due to pushback, except in the corner, where 2B punishes. Whiff punish with 214K.
Slash Sword
Safe at max range. if you're close enough, punish with 5C.
Punish Sword
Travels a shorter distance than Slash Words. Also safe at max range. if you're close enough, punish with 2D.
Balloon Bomb
Hits overhead and can cross up, but has long recovery. Whiff punish with 5C, 2C, or 214K. If blocked, punish with dash > 5C.
Shiva Dance
Can go through projectiles up close. Punish with dash > 5C.
Soul Spike
Not an overhead. Light version is safe; Heavy isn’t. She can super instantly to bait your punish. Use throw to avoid it.
Rapid Gale
Mainly used for okizeme and pressure. Can be whiff punished with 214214K or 236D (needs proper spacing).
Heel Break
Two-hit sequence, with the second hit being an overhead. Interrupt after the first with throw, 214K, or a super.
Rapid Charge
On block, she switches sides and ends mid-air, turn around quickly to punish.
Burning Revolver
Hits both sides, great for catching crossups and ambiguous jumps. On block, punish with dash > 5C
Cutlass Flasher
Hits overhead and switches sides on block. Punish with 5C.
Horus Shade
An overhead with slow startup, making it easy to react to. Punishable on whiff with 214K, 2C, or 5C, and unsafe on block.
Death Shred
Hits twice on standing, second hit is overhead. whiff punish or interrupt the second hit with any normal.
Deadly Claw
At close range, 214B stays in front, while 214D lands behind. Punish with super (236236P) or anti-air with 2C.
Dash Knee
Safe only with proper spacing. On block or hit, punish with 2B, or whiff punish with 214K.